Concrete driveways take a beating — between vehicles, weather, and seasonal freeze-thaw cycles, it’s only a matter of time before cracks start to show.
The good news? With the right tools, materials, and patience, repairing driveway cracks is a manageable DIY project that can extend the life of your concrete and keep it looking its best.
TL;DR
To repair cracks in your driveway: clean the crack, insert backer rod (for deep or wide cracks), apply flexible polyurethane caulk, smooth it with soapy water, sprinkle sand for texture, and allow it to cure. Avoid rigid patching materials, and level the slab first if it’s uneven.
In This Article
Tools and Materials for Driveway Crack Repair
Before you start, gather the right materials. Proper prep makes the difference between a quick patch and a long-lasting repair.
1. Flexible Concrete Caulk
Use flexible polyurethane caulk designed for concrete. Here are the two options:
- Self-leveling: thin, runny, flows into cracks for a smooth finish. Best for flat, wide joints.
- Non-sag: thicker, stays in place, must be tooled smooth by hand. Best for vertical or uneven areas.
Pro brands: Chemlink, Sika.
2. Caulk Gun
- Ensure your caulk gun fits the size of your caulk tube.
- Invest in a battery-powered model if planning extensive crack repair.
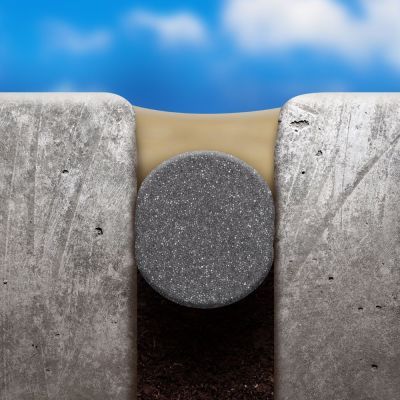
3. Backer Rod
- Backer rod is recommended for cracks >½ inch wide or deeper than 1 inch.
- Saves caulk by filling empty space and improves adhesion by shaping the joint.
- Pool noodles can be cut to size for larger gaps. Sand can also be placed in the joint to fill empty space and give a base for the caulk to sit on.
4. Spray Bottle + Soapy Water
- Essential for smoothing non-sag caulk.
5. Dry Sand
- Sprinkle over wet caulk for texture that blends with existing concrete.
Concrete Gap and Crack Repair
Protect your concrete from settling and worsening cracks with professional concrete crack repair services.
Step-by-Step: How to Repair Cracks in a Concrete Driveway
1. Clean and Prep the Crack
Remove dirt, weeds, and debris from the crack. Use a pressure washer or leaf blower for best results. Let the concrete dry completely before caulking.
Important: If your driveway slab is uneven, lift and level it before caulking (so you don’t stretch the caulk and ruin the repair later).

2. Install the Backer Rod
For cracks wider than ½ inch:
- Choose foam backer rod that is slightly larger than the gap so it fits snugly.
- Push it down around ½ inch below the surface.
You can also use playground sand. Fill the crack with sand until all voids are filled, tapping the concrete gently with a 2x4 to distribute evenly.
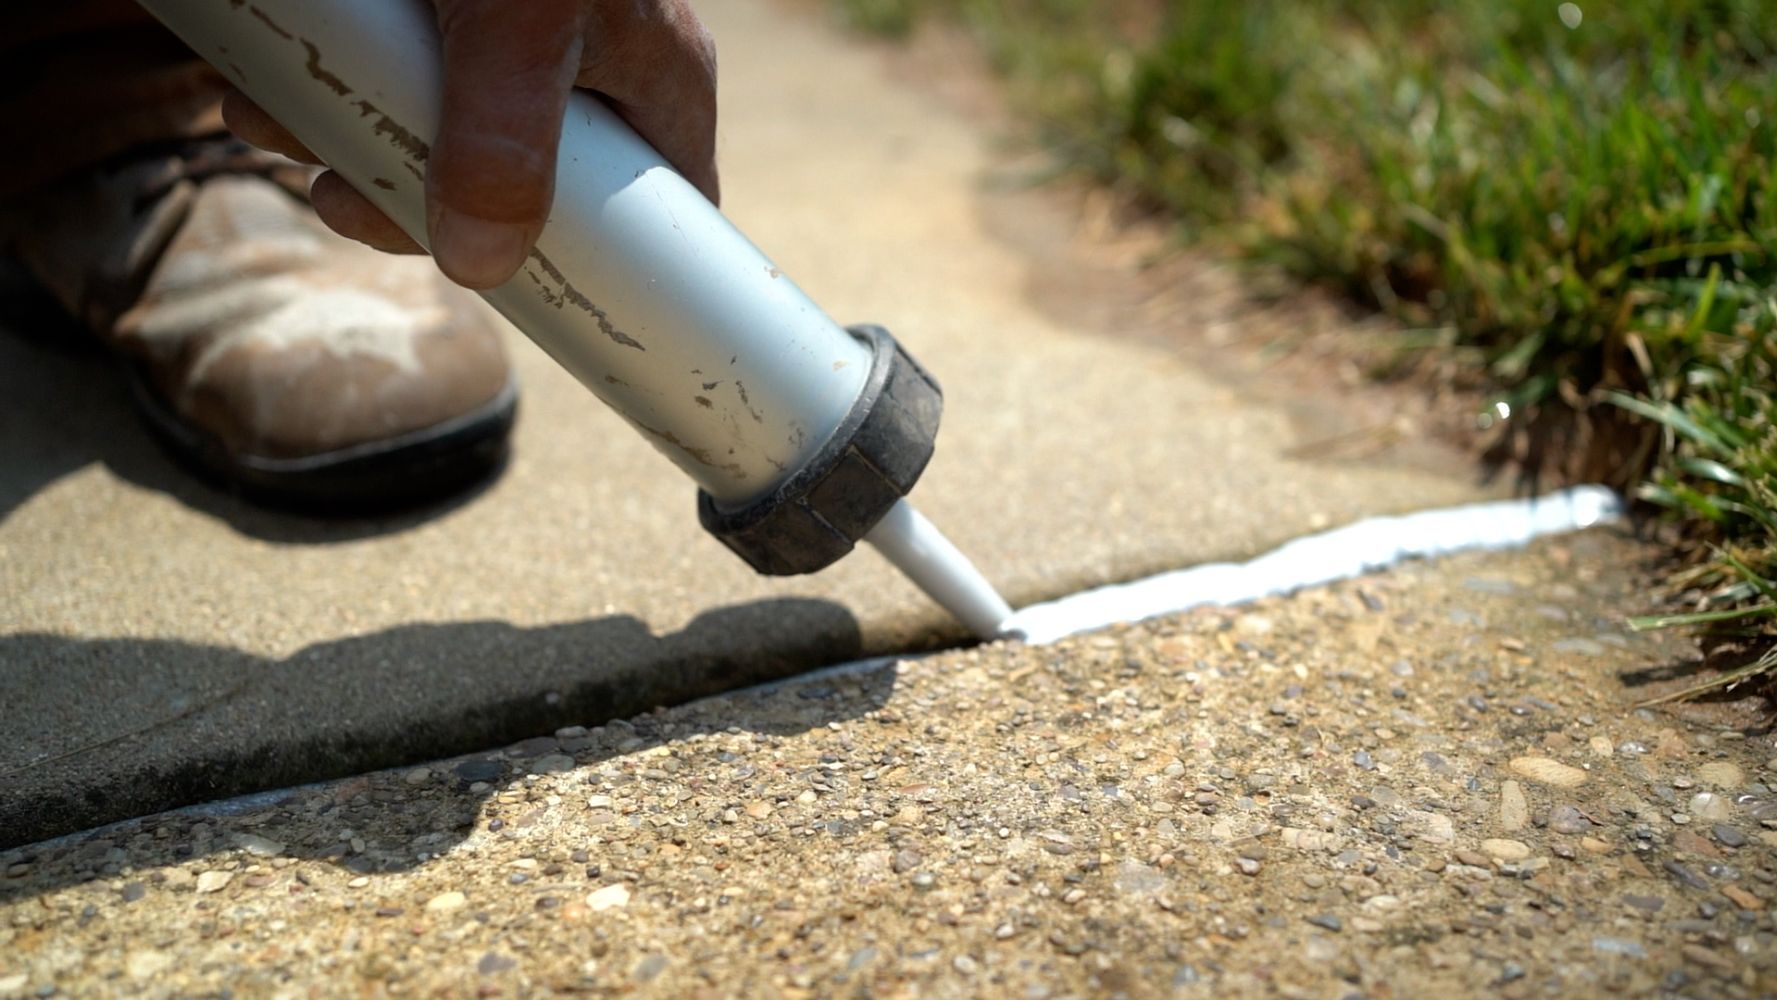
3. Apply the Caulk
- Cut the nozzle tip at a 45° angle (just smaller than the crack).
- Apply a steady bead of caulk along the entire crack.
- With self-leveling caulk, dam the ends with non-sag first to prevent leaks.
- Fill the crack completely without over-mounding above the slab.
Pro Tip: The caulk should be slightly lower than the surface of the slab to protect the bead from damage from foot or vehicle traffic.
4. Smooth the Caulk
- For non-sag caulk, spray with soapy water and smooth with a gloved finger or tool.
- Avoid smearing excess onto the surrounding concrete.
5. Add Sand for Texture
Sprinkle dry sand over wet caulk to help visually blend it in with the driveway.
Sprinkle dry sand over wet caulk to help visually blend it in with the driveway.6. Allow the Caulk to Set
- Follow manufacturer’s drying/curing times (usually 24–48 hours).
- Avoid walking or driving on the repair until fully cured.
Pro Tips for Driveway Crack Repair
-
Skip Mortar & Concrete Patch
Rigid fillers don’t flex with slab movement and will crack again.
-
Level First, Then Caulk
Always lift uneven slabs before sealing cracks. Otherwise, you risk ruining the caulk line if lifting is required.
-
Use the Right Caulk Combination
For wide expansion joints: dam edges with non-sag, then fill with self-leveling for a clean finish.
-
Texture Matters
Adding colored sand to the caulk surface while wet creates a natural, concrete-like look that helps it blend in.
Concrete Gap and Crack Repair
Protect your concrete from settling and worsening cracks with professional concrete crack repair services.
DIY vs. Hiring a Pro
While repairing driveway cracks is DIY-friendly, there are times when calling in the pros makes sense:
- Large or Uneven Cracks: May require concrete leveling before caulking.
- High-Visibility Areas: Professionals can achieve a smoother, cleaner finish.
- Time & Convenience: DIY repairs may take a whole weekend; pros finish in a few hours.
At A-1 Concrete Leveling, our crews specialize in caulking and concrete leveling to keep driveways protected and looking great for years. Request a free onsite estimate today.
Repair Your Concrete Driveway
Cracks won’t fix themselves — and the longer you wait, the more they can expand and cause settlement issues. With this step-by-step guide, you can tackle driveway crack repair as a weekend DIY project.
Prefer a professional finish? A-1 Concrete Leveling has over 30 years of experience repairing and protecting concrete with expert leveling, caulking, cleaning, and sealing services.
Request a free estimate and get your driveway back in shape.
Still Deciding?
- Professional Concrete Caulking Process: Step-by-Step
- How Much Does Professional Concrete Caulking Cost?
- Uneven Concrete? Here’s What to Do
Frequently Asked Questions
What’s the best way to repair cracks in a concrete driveway?
The best method to repair concrete cracks is to clean the crack, insert backer rod if needed, and fill with a flexible polyurethane concrete caulk. This keeps water out and allows for natural slab movement.
Should I use concrete patch to fill driveway cracks?
No, you shouldn’t use concrete patch to fill driveway cracks. Patching compounds and mortar are rigid and will crack again as the slab expands and contracts.
How long does driveway crack repair last?
With good prep and flexible caulk, repairs can last several years. Check yearly and touch up as needed.
Do I need to level my driveway before crack repair?
Yes, it’s important to first lift the concrete before caulking if the slab is uneven. Leveling first ensures your caulk won’t come unstuck when the concrete is lifted.
Concrete Gap and Crack Repair
Protect your concrete from settling and worsening cracks with professional concrete crack repair services.
Topics: