Search for topics or resources
Enter your search below and hit enter or click the search icon.
Just the right mix of services to repair, preserve, and upkeep your concrete — while saving you money at the same time.
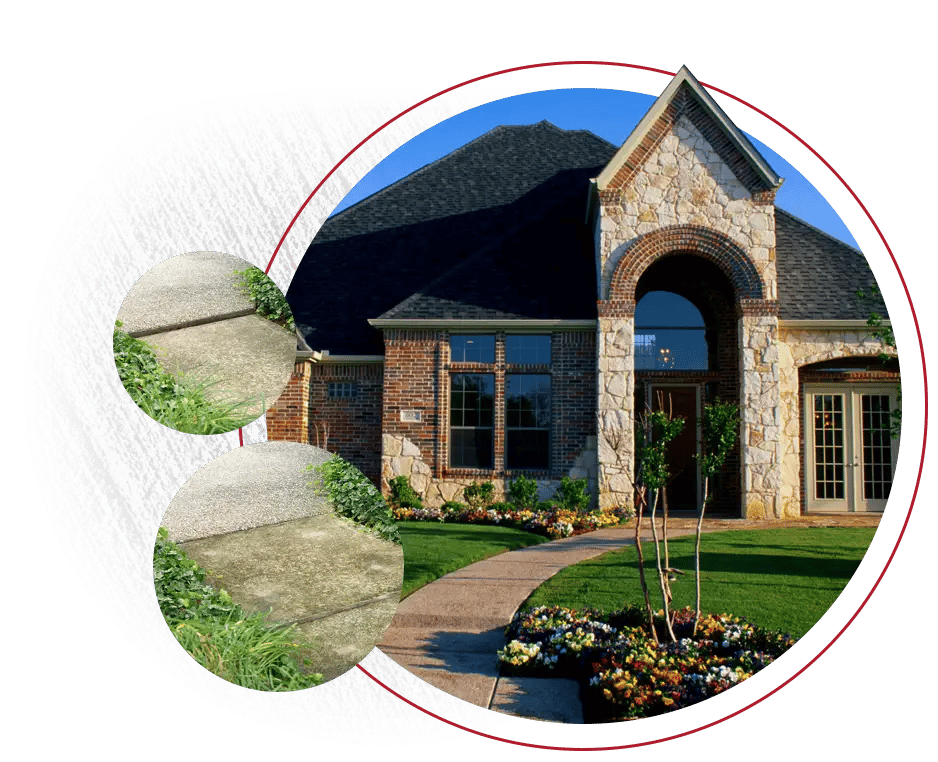
Save time, money, and stress with custom concrete repair and maintenance solutions tailored to your unique needs. Here at A-1, we’ve got your back on everything from eliminating trip hazards to preserving and protecting your concrete for long-term savings.

Here’s how easy concrete repair and maintenance can be:
Request a free onsite estimate to see how affordable custom concrete care can really be.
Watch dirty, cracked concrete get a face lift, or see sunken slabs float back up where they belong.
Do a happy dance because your existing concrete is repaired, protected, and looks better than ever.