Search for topics or resources
Enter your search below and hit enter or click the search icon.
Enjoy a permanent solution to foundation failures, leaning chimneys, bowed basement walls, and sinking foundations.
A faulty foundation can leave you up against:
Properties with foundation damage are typically valued lower.
Severe foundation problems can cause safety concerns.
Foundation damage can get worse over time and end up costing more.
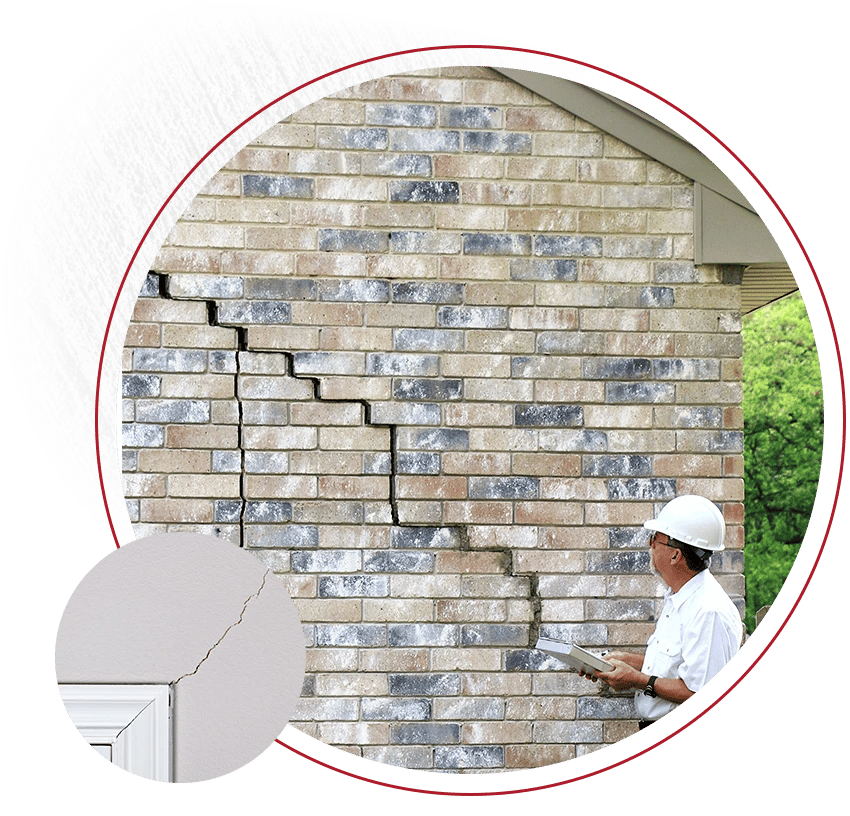
If you have cracked basement walls, doors that won't close, leaning chimneys or bowed basement walls, these can be signs of foundation problems. Without addressing these issues, foundation settlement can lead to major structural problems within your home. A-1 Concrete Leveling provides cost-effective solutions to repair concrete foundations.
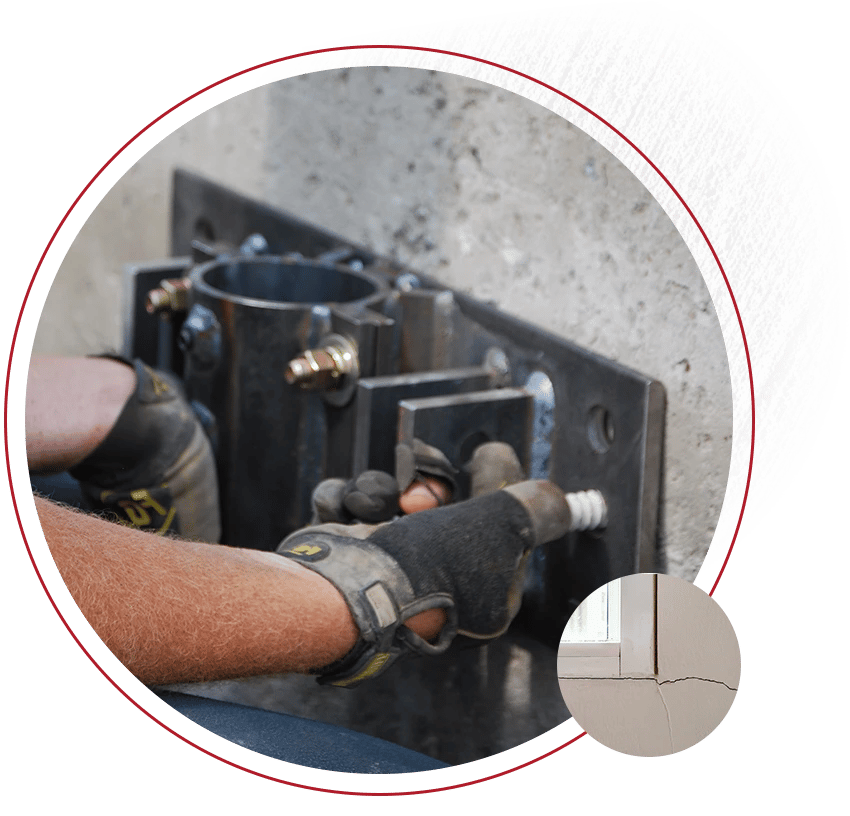
Repairs can take as little as one day, or up to several days for larger jobs. A-1 Concrete Leveling is committed to making the foundation repair process easy and stress-free for you, and will care for your home as if it were our own.
All foundation repair services are performed by experienced team members and are backed by multi-year warranties.

Say goodbye to the stress that comes with foundation issues in three simple steps:
Receive an onsite cost estimate from an A-1 expert to find out how easy and affordable a stable foundation can be.
See your settled, cracked, or leaking foundation transform, right before your eyes.
Put that ugly, uneven concrete in the past (where it belongs!) and enjoy your beautiful, safe concrete.